How to Install Board Mount Light Pipes
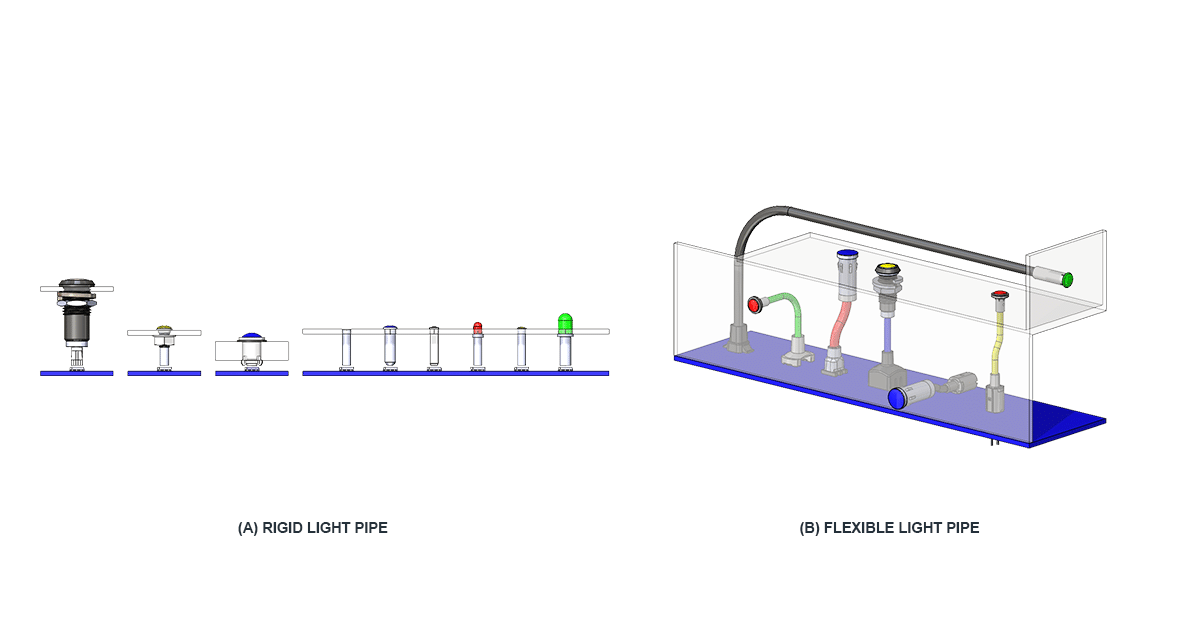
Board mount light pipes are used to efficiently transfer light from an LED to an user interface panel. They securely mount onto the printed circuit board and are positioned above the SMD LED, as close to the LED as possible without touching the LED. The most common application for board mount light pipes is to communicate device status to an end user. Bivar offers light pipes in a variety of shapes, sizes, and functional properties.
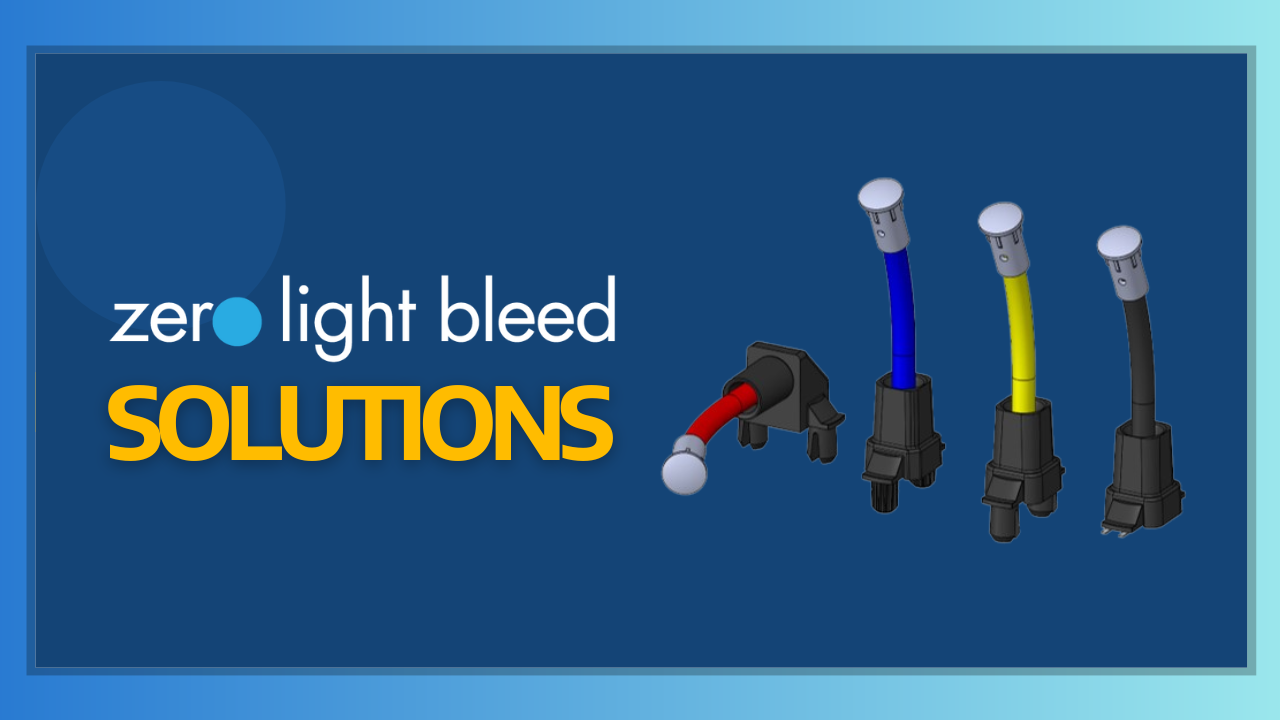
Board mount rigid light pipes are available in vertical or right angle configurations. They are available in single or multi-station arrays as well as ZeroLightBleed™ options. Other options include firm mounts and adapters with built-in surface mount LEDs for an all-in-one solution for more rugged environments.
A board mount rigid light pipe is commonly used for network servers or . Bivar’s LPV and LPR light pipes come pre-assembled with a ZeroLightBleed™ adapter for easy installation into a PCB.
An LED is first installed on a PCB following the recommended mounting area listed on the assembly drawing. Once LED is in place the recommended mounting holes are drilled around the LED to allow the light pipe adapter posts to mount to the board and properly position the light pipe above the LED. Proper positioning will allow the LED to transmit light efficiently through the light pipe. Once the PCB is ready the light pipe is simply inserted into the board.
Bivar also offers the LPR and LPV Series with an LED pre-installed in the adapter. The recommended soldering pattern is first applied to the PCB. The adapter is then soldered onto the PCB following the instructions on the assembly drawing. Once the adapter is soldered on the PCB the light pipe is simply inserted into the adapter until the base of the light pipe bottoms out on the adapter interior ledge.
There are cases where light pipes are needed to endure rugged and harsh environments as well. The ZeroLightBleed family is a great option to provide vibration resistance. With the addition of the Sealing Gasket Lens Caps, also known as the SGLC Series, board mounts are converted to an IP rated product for outdoor or industrial applications.
The SGLC is installed by first drilling the recommended mounting as shown on the drawing. Place the sealing gasket centered around the drilled and cleaned panel hole. The lens cap is then inserted into the panel hole. The board mount light pipe is installed as previously shown. Instead of the end of the light pipe floating in the panel hole it is protected from the elements with the help of the SGLC, providing an IP68 rating.
As you can see, Bivar has board mount rigid light pipes to fit various needs when it comes to installation to ensure that light transfers efficiently from an LED to an user interface.


