How to Install Panel Press-Fit Light Pipes
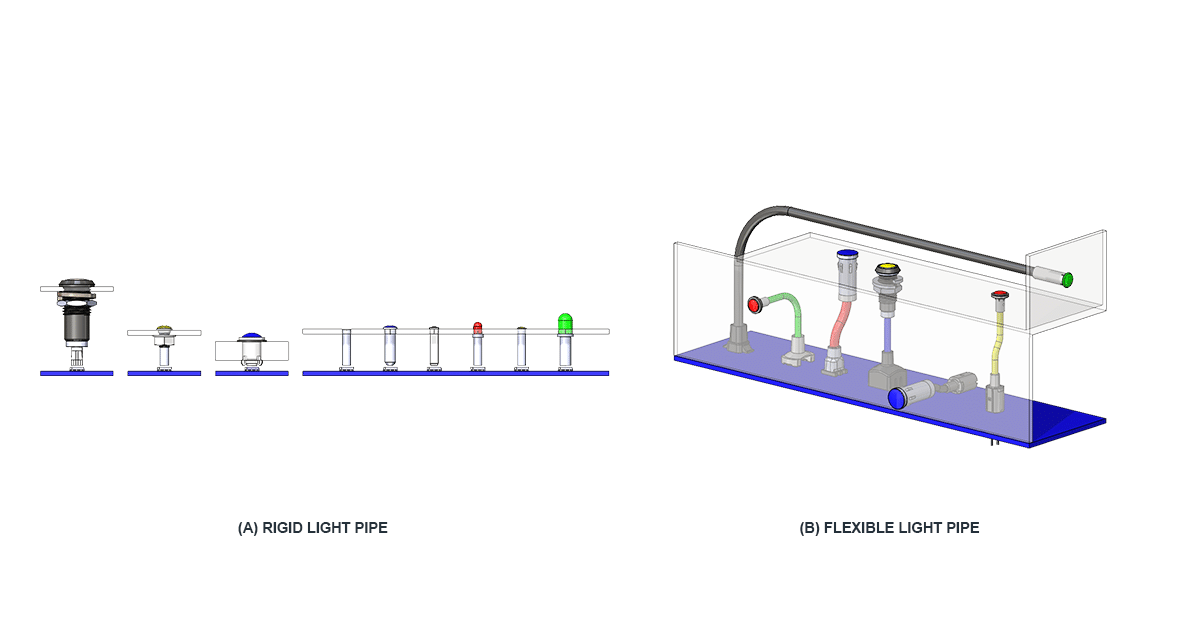
Panel-press fit light pipes are used to efficiently transfer light from an LED to an user interface panel. They press securely into the panel and hover as close to the SMD LED without touching the LED. The most common application for panel-press fit light pipes is to communicate device status to an end user. Bivar offers light pipes in a variety of shapes, sizes, and functional properties.
A variety of configurations are available including front mount which are installed from the exterior of a panel, rear mount which are installed from the interior of a panel, and front mount IP rated which contain a seal, washer, nut, and threaded light pipe for more secure retention to ensure dust and water protection as well as vibration resistance.
A front mount panel-press fit light pipe is best used for a small remote or wireless networking radio. The crush rib feature on the body of the light pipe helps ensure the light pipe stays secure. One example of a front mount light pipe is our PLPC Series. It has a countersink flush mount design for smooth panel appearance. For our PLPC1, you will first drill a 0.040” diameter hole into a panel with 0.047”-0.093” thickness. Next step would be to center a 60° drill bit to the existing hole and drill down 0.008” from panel surface. Like other light pipes you then insert light pipe into the hole until crush ribs engage.
A rear mount panel-press fit is also best used for industrial vending machines or gas detection monitors. The crush rib feature on the body of the light pipe also helps ensure the light pipe stays secure. These light pipes can be installed from the interior of the panel and one common rear mount light pipe is our PLP5 Series. The installation process is similar with regards to drilling the mounting hole and the crush rib engagement, but instead of inserting the light pipe from the exterior of the panel it is inserted from the interior of the panel.
There are cases where light pipes are needed to endure rugged and harsh environments as well. The PLTR Series is a great option to provide ingress protection and vibration resistance for outdoor or industrial applications. For a PLTR2 light pipe, the recommended mounting hole is drilled first. The seal is placed onto light pipe and then the light pipe into mounting hole. The washer will be placed on the other side of panel over the light pipe body. Place flat side of nut against washer and tighten until there is resistance. Hold the head of the light pipe and tighten nut with torque wrench 6-7 in-oz. When installed correctly, the PLTR Series provides an IP67 rating which is able to protect against dust and withstand being submerged underwater up to 1 meter deep for 30 minutes.
As you can see, Bivar has front mount, rear mount and IP Rated panel-press fit light pipes to fit various needs when it comes to installation to ensure that light transfers efficiently from an LED to an user interface.


